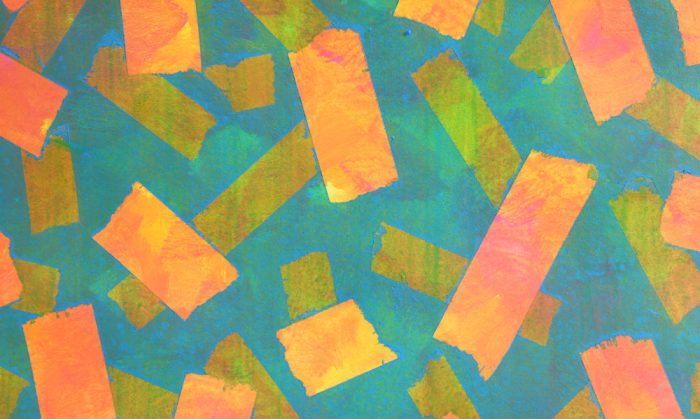
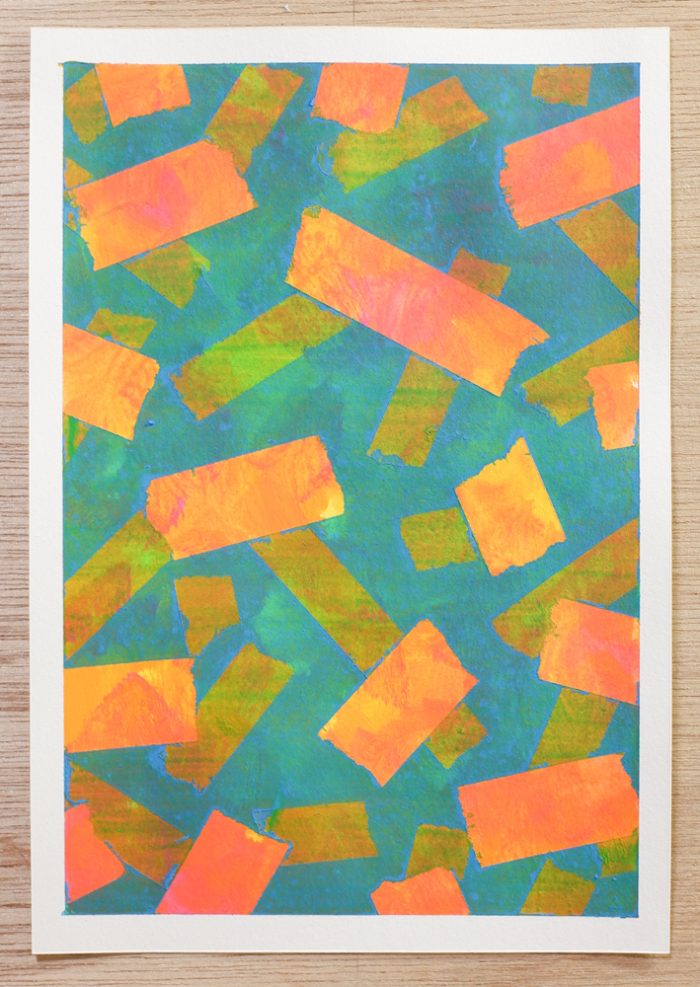
図工の時間5時間目はマスキングテープを使って絵を描きます。
【作品1枚が完成するまでの目安】1時間〜1時間30分
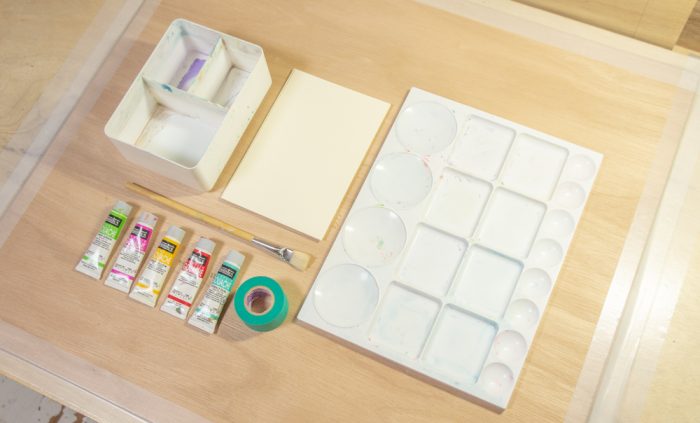
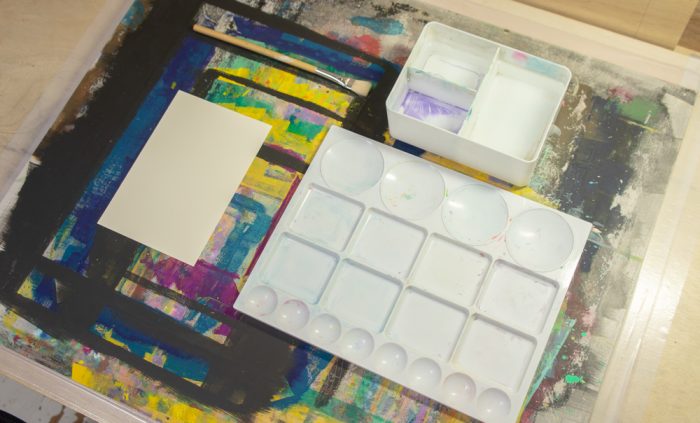
【用意するもの】
*画用紙(サイズはハガキ大〜A4程度)
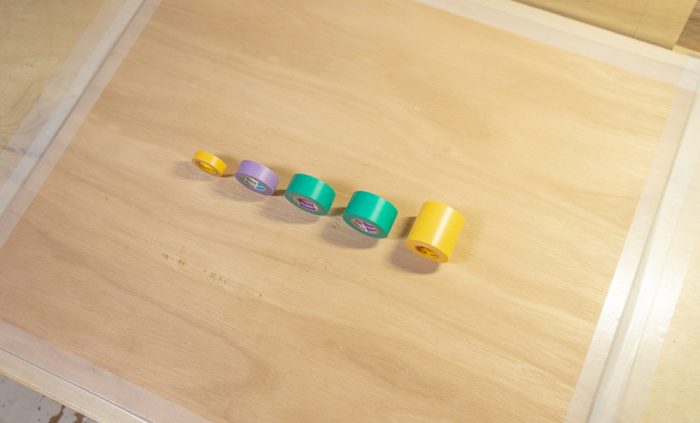
*マスキングテープ
*水彩絵具
*筆
*筆洗 (バケツや紙コップなどでも可)
*パレット (紙皿やアルミホイルなどでも可)
【注意すること】
*絵具を使うので、机や床が汚れないように新聞紙やビニールシートなどを用意して下さい。
【作り方】
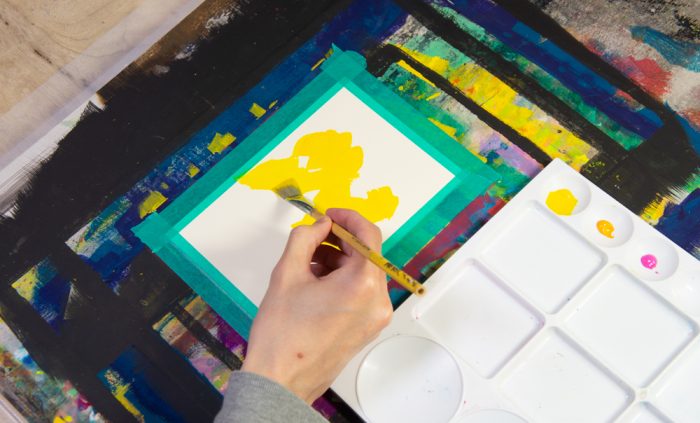
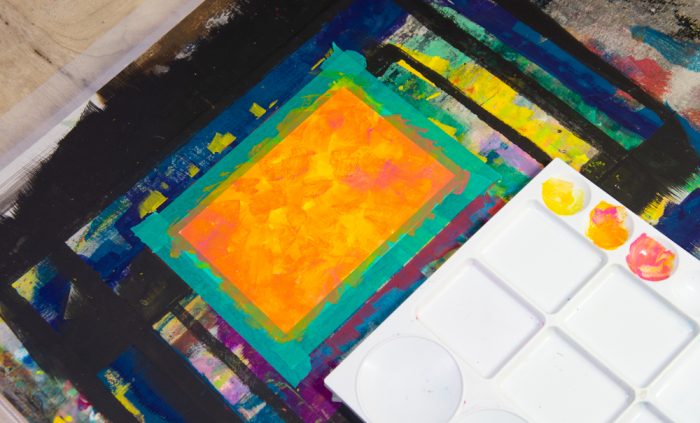
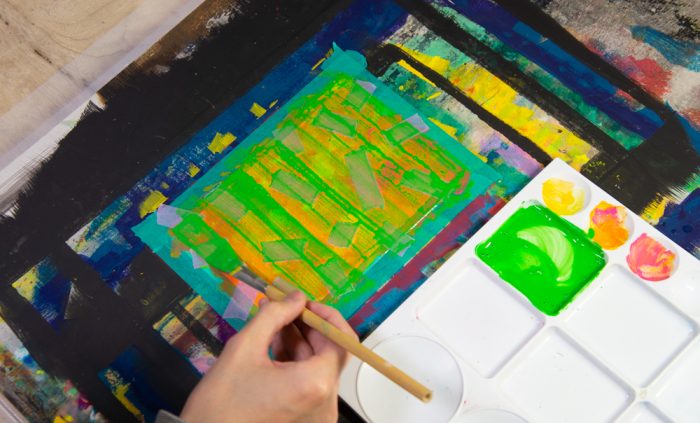
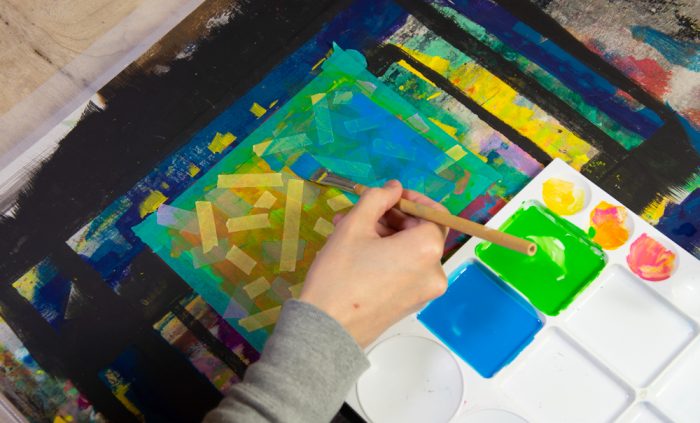
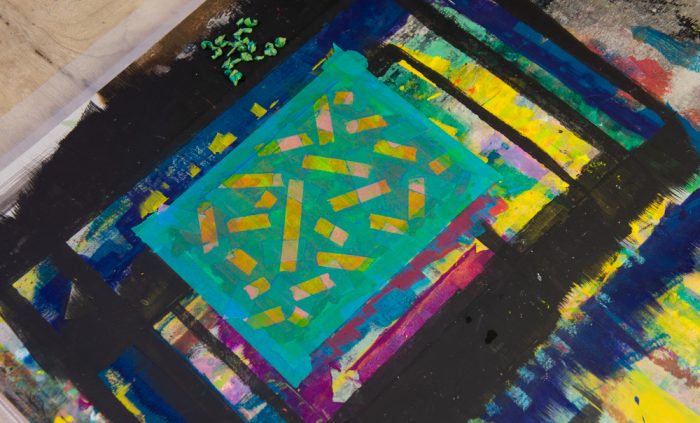
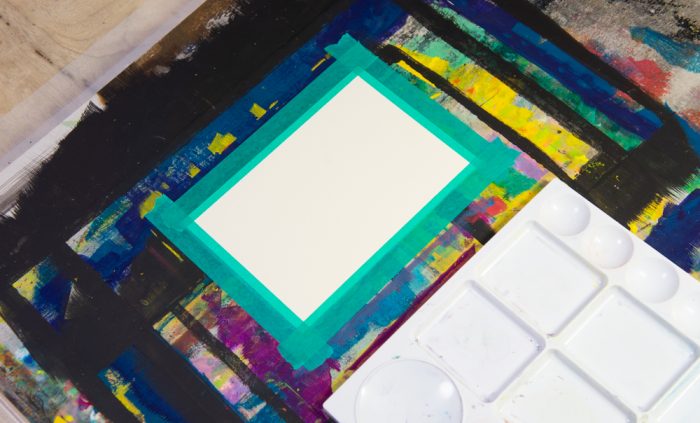
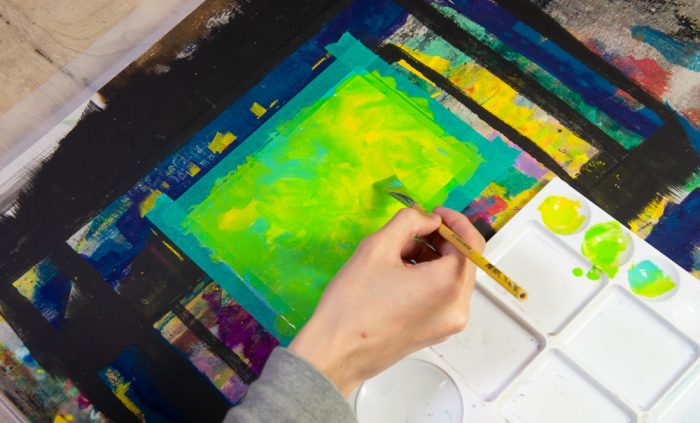
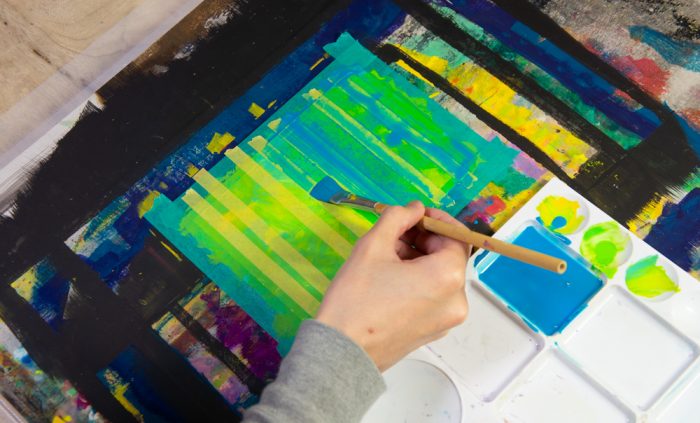
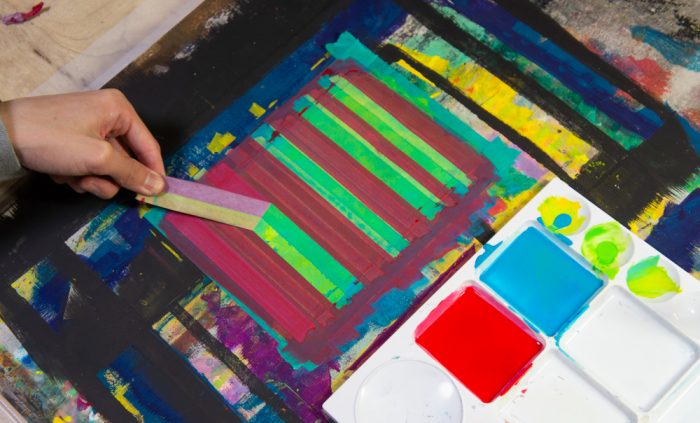
①まずは画用紙に絵具を塗ります。

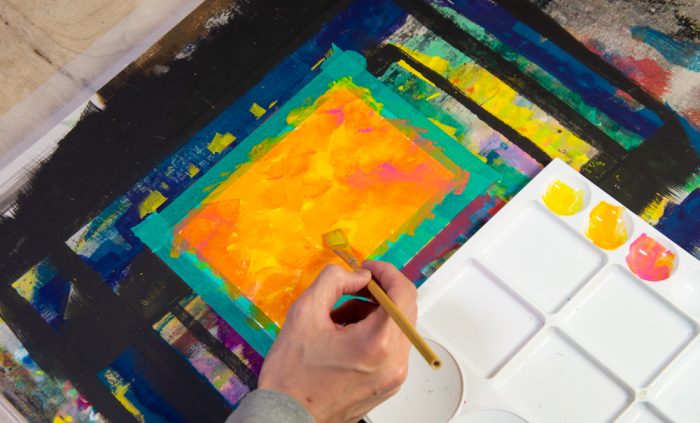
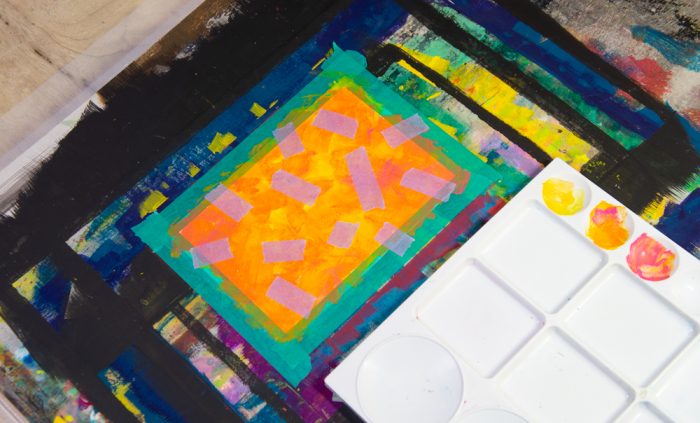
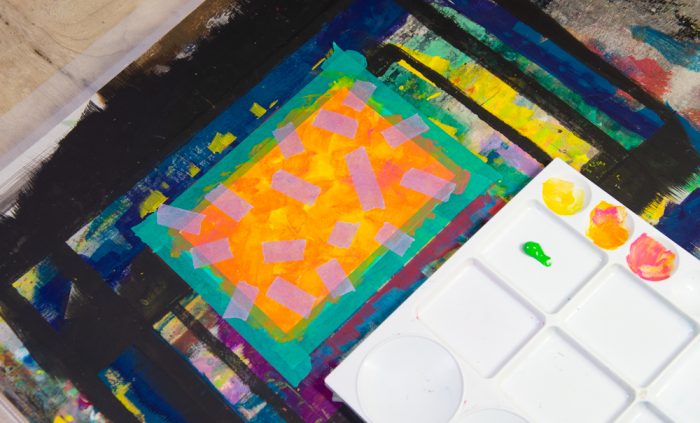
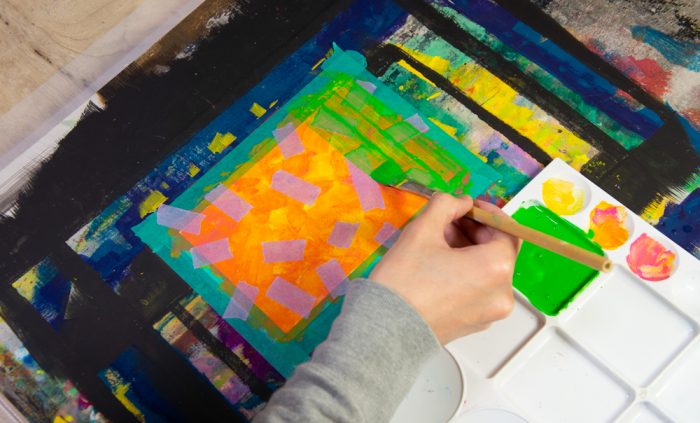
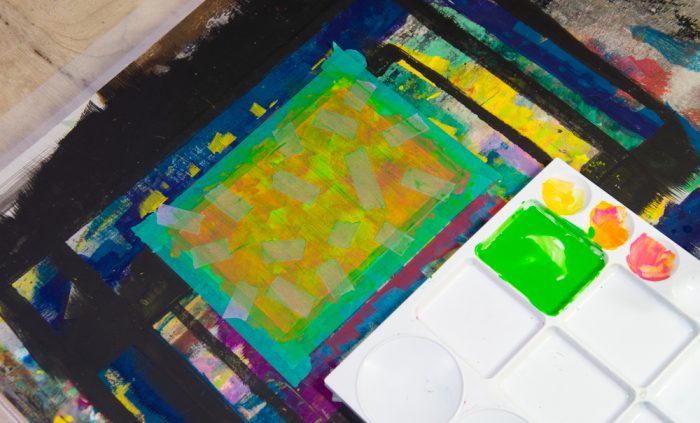
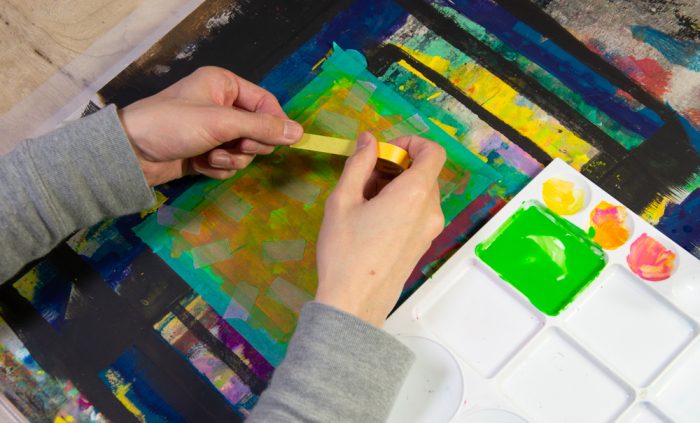
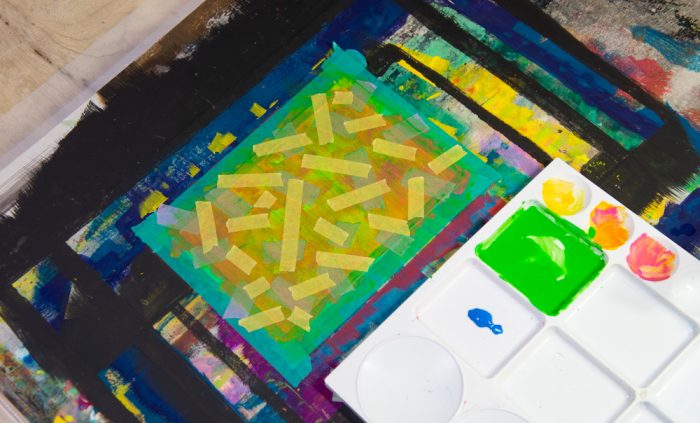
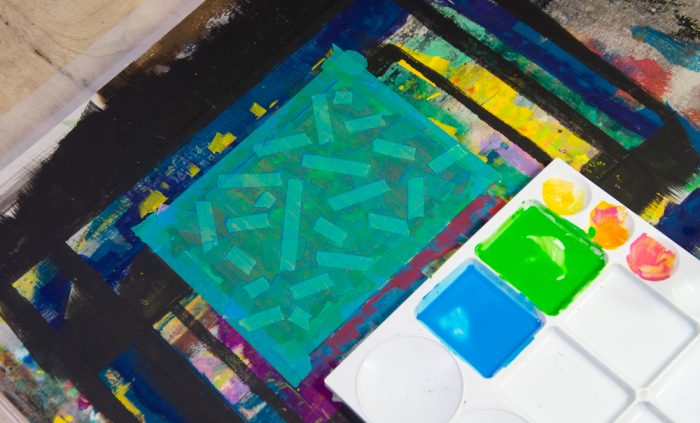
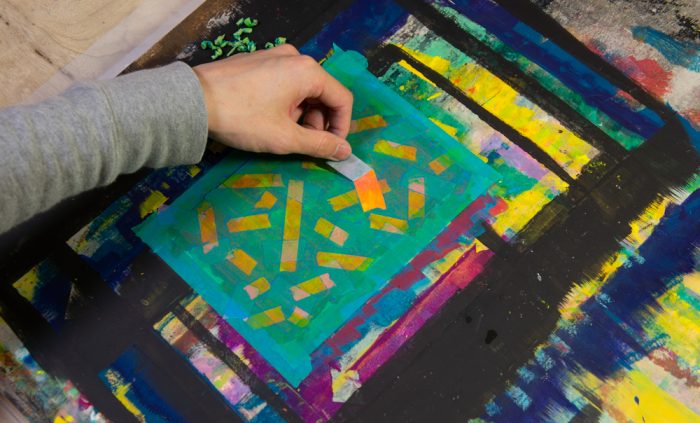
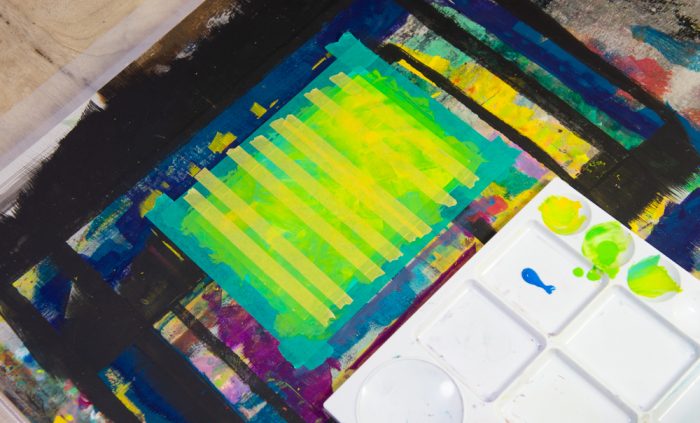
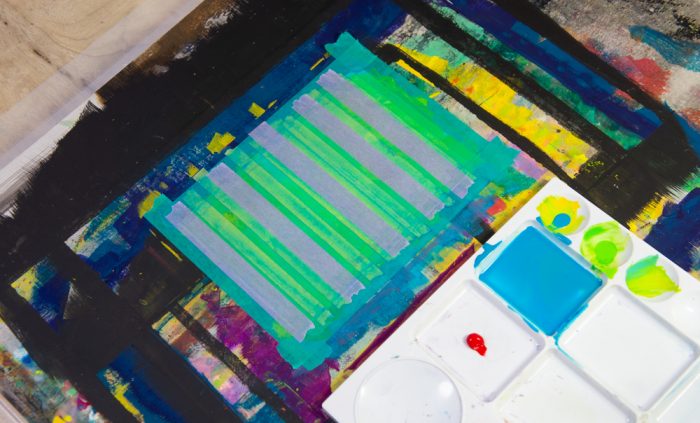
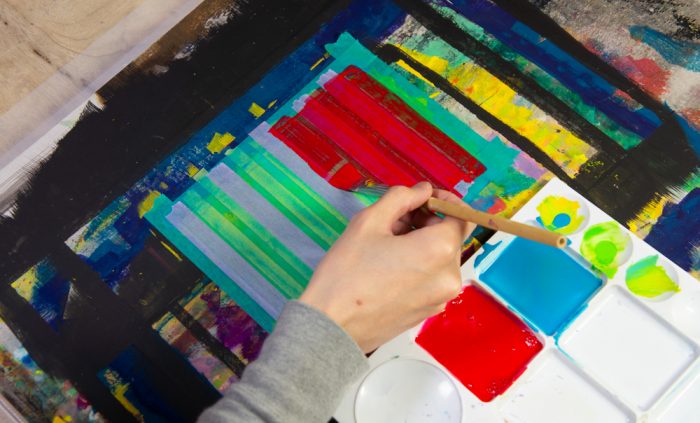
②マスキングテープを貼って絵具を塗る、という作業を繰り返します。
※今回は同じ作業を2回繰り返します。好みに合わせて繰り返す回数を変えてもかまいません。


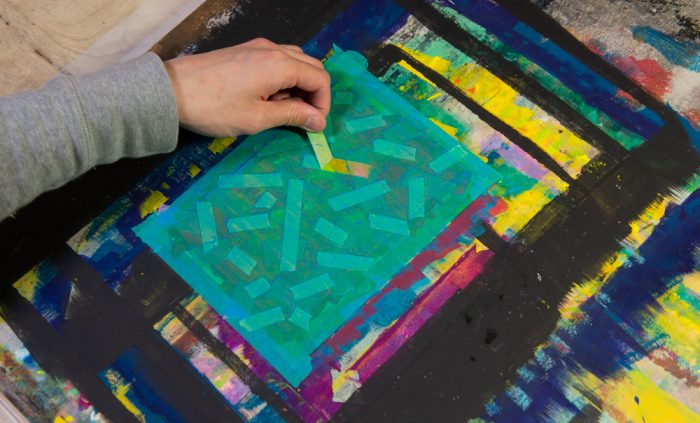
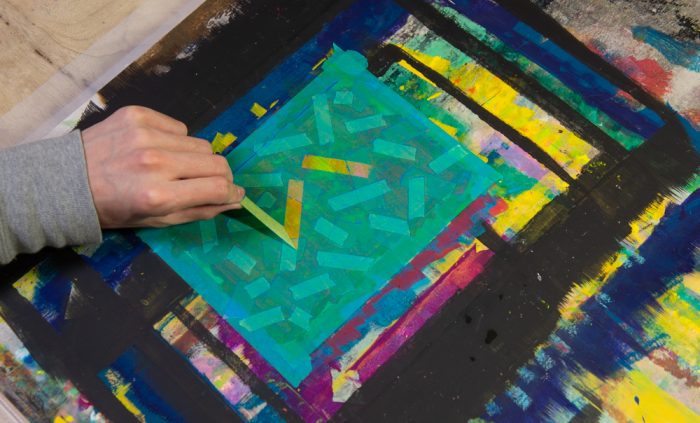
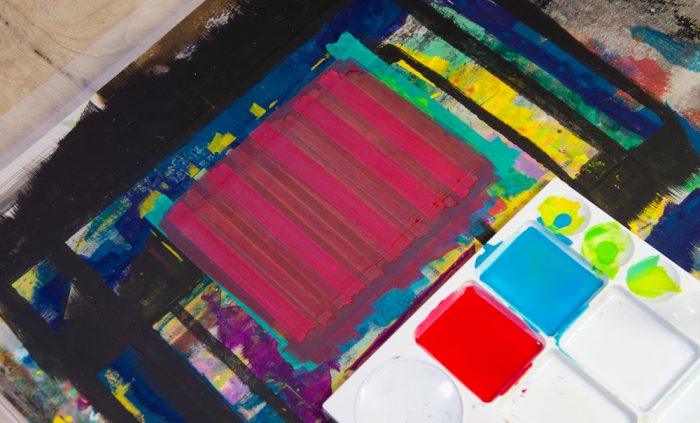
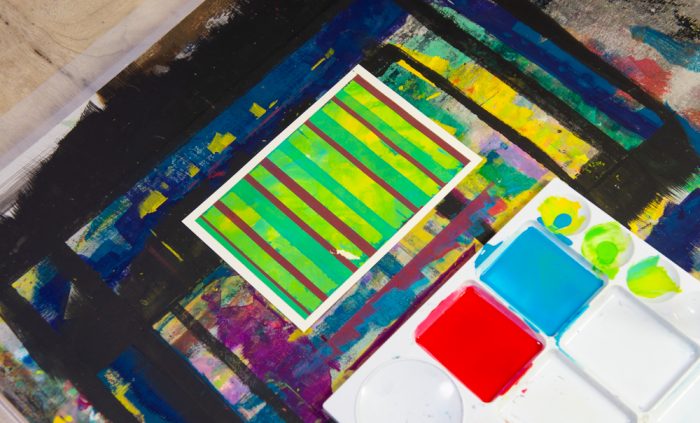
③マスキングテープを剥がします。
※勢いよく剥がすと画用紙が破れることがあります。テープはそっと剥がしてください。
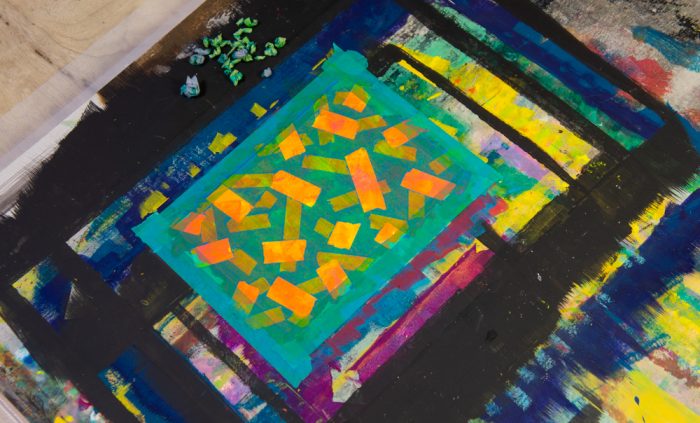
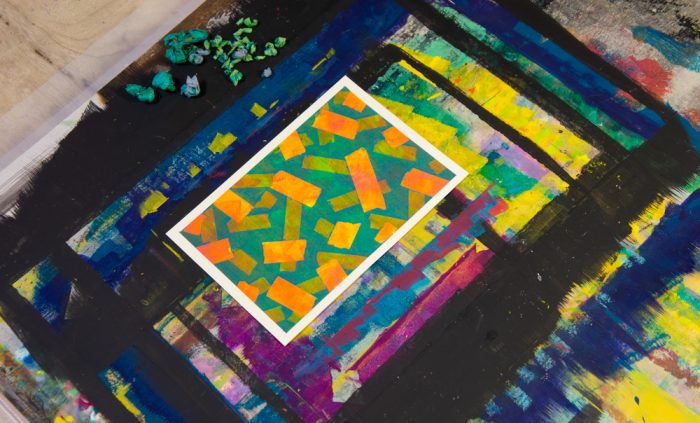
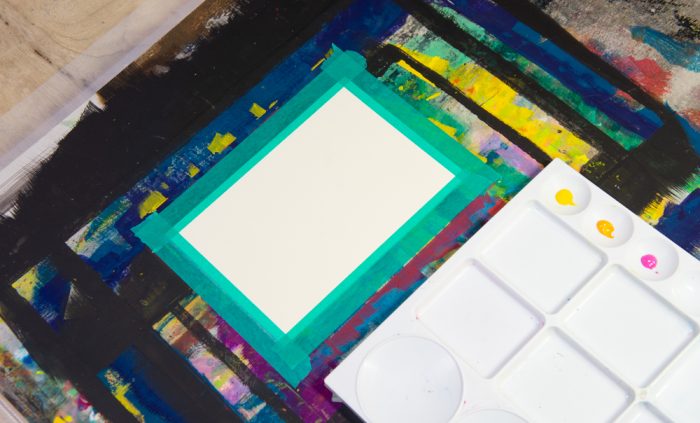
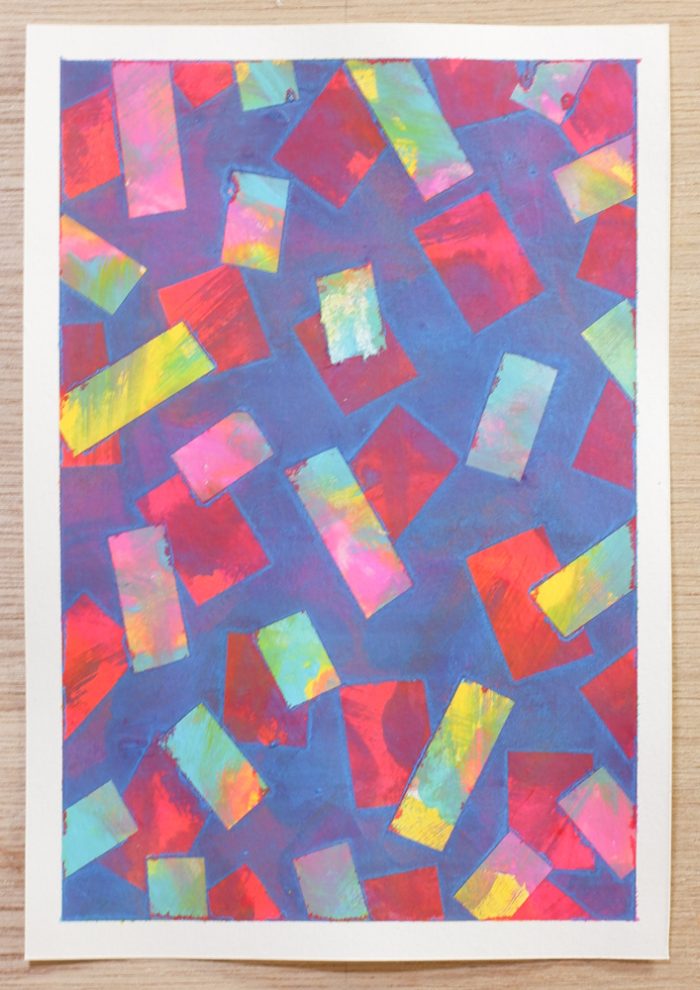
最後に画用紙を固定していた緑のマスキングテープを剥がして完成です。
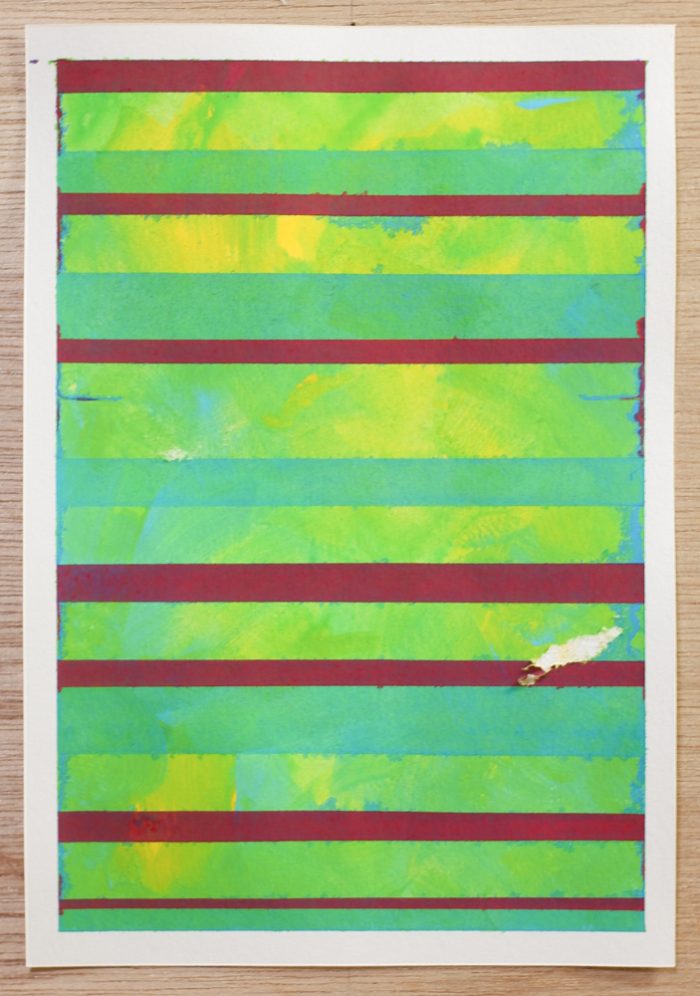
【おまけ①】
上で紹介した作品をつくる前に実はもう1枚つくっていたのですが、マスキングテープを剥がすときに画用紙が破れてしまったのでつくり直しました。せっかくなので破れてしまった方も制作過程を載せておきます。
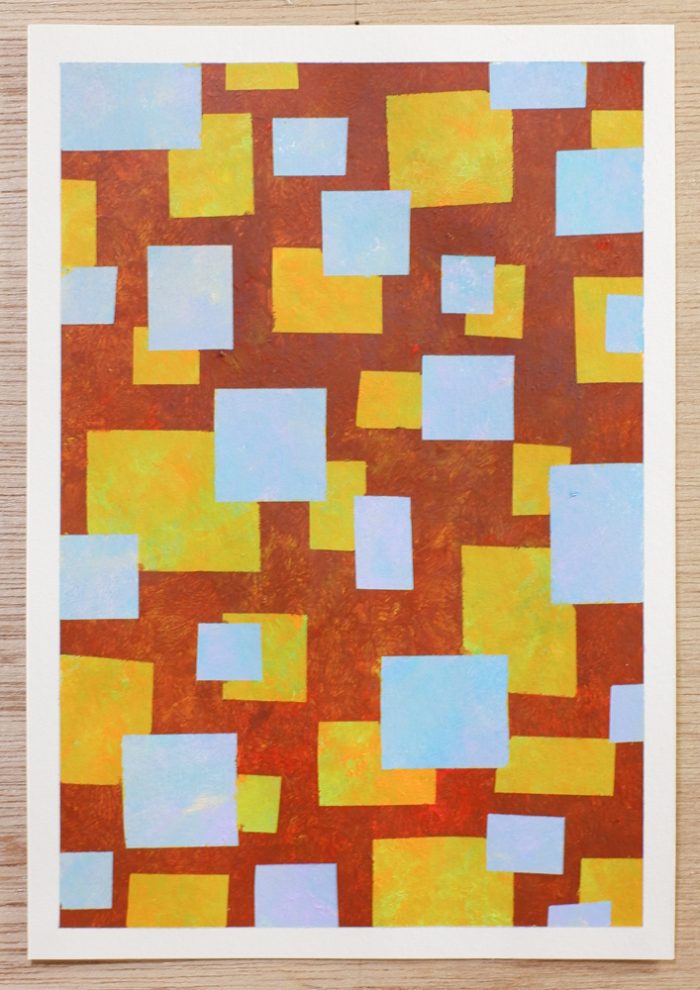
【おまけ②】
かなり楽しかったのでさらに2枚つくりました。こちらの2枚はマスキングテープを手で千切らずにハサミで切っています。絵具の濃さや塗り方を変えたり、テープの長さや幅を変えるだけでいろんな絵を描くことができます。
【おわりに】
マスキングテープは、結構前から文房具店や雑貨屋などに様々な色・柄のものが並んでいて、装飾用のシールのように扱われています。本来の用途としては、塗装の際に塗料を塗りたくない部分を覆い隠すために使われるものですが、一般には柄付きの方が主流になってきているように感じています。
今回はマスキングテープ本来の使い方で、貼ることと剥がすことを楽しみながら絵が描けるように考えてみました。僕が使ったような養生用のマスキングテープがない方は、家にある買ったはいいけど使い所がわからない絶妙な柄のマスキングテープなどを使ってみてください。お気に入りの柄のやつはもったいないので取っておきましょう。
次回、6時間目は、、未定。これから考えます。更新は予定通り4月19日(日)です。
↓↓↓奈良市六条の自宅アトリエで絵画教室をはじめました↓↓↓